
If you accidentally upgrade HomePod mini to audioOS beta, it is easy to cause various errors and problems, resulting in unresponsive or abnormal failure of HomeKit accessories. In fact, it has a great relationship with the HomePod beta version. In fact, it can be solved by downgrading and resetting HomePod mini. This article will teach you how to reset and downgrade HomePod mini to the old version, and restore audioOS to the stable default environment of HomePod official version.
HomePod mini downgrade steps
If you want to downgrade the HomePod mini, you need to use a computer (Windows, Mac) and a transmission line to operate. It cannot be downgraded remotely through WiFi. As for the discontinued HomePod, it does not support wired connection computer downgrade.
Step 1. Connect your computer via USB-C
First, plug the USB-C cable that came with the HomePod mini into the computer, and open the latest version of iTunes on a Windows computer. If you directly open the Finder window on a Mac computer, you will see an orange light flashing on the top of the HomePod mini, which means that the computer is preparing to Reply to HomePod mini status, wait for it to disappear in a moment.
Step 2. Downgrade HomePod mini with iTunes
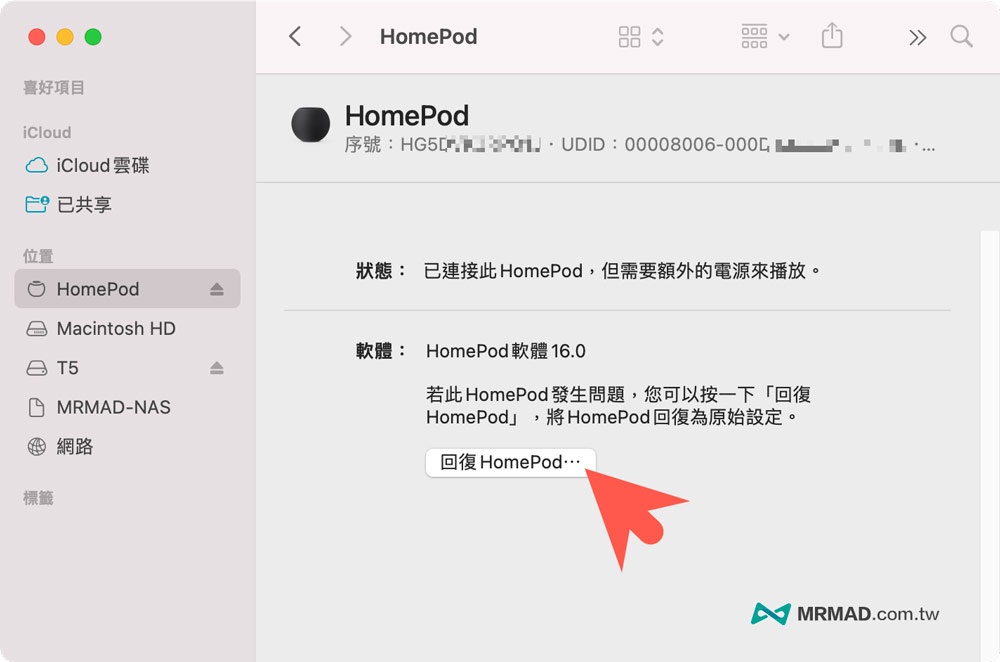
After the orange light stops flashing, you will see the HomePod mini device appearing in the left window of iTunes / Finder. If you want to downgrade the HomePod mini, you need to manually select the old version of audiOS iPSW to downgrade (click me to download the official version of HomePod ipsw), the operation is as follows:
- Windows: In the HomePod window in iTunes, press the keyboard “ShiftAfter holding down the key, click “Recovery HomePod ..」。
- Mac: In the Finder window, press the keyboard “OptionAfter holding down the key, click “Recovery HomePod ..」。
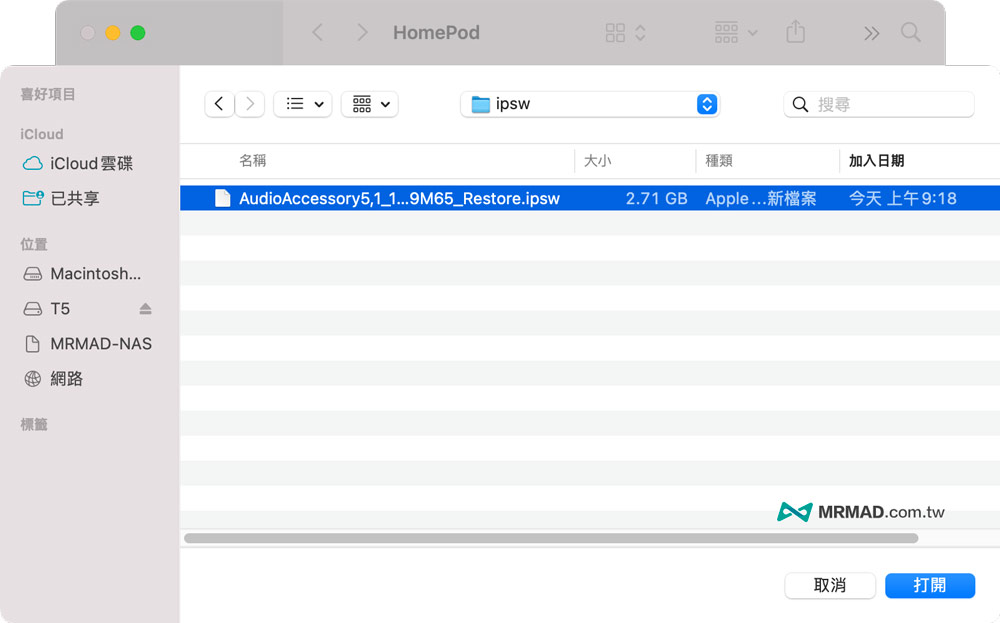
Directly open the audioOS iPSW old firmware file you just downloaded.
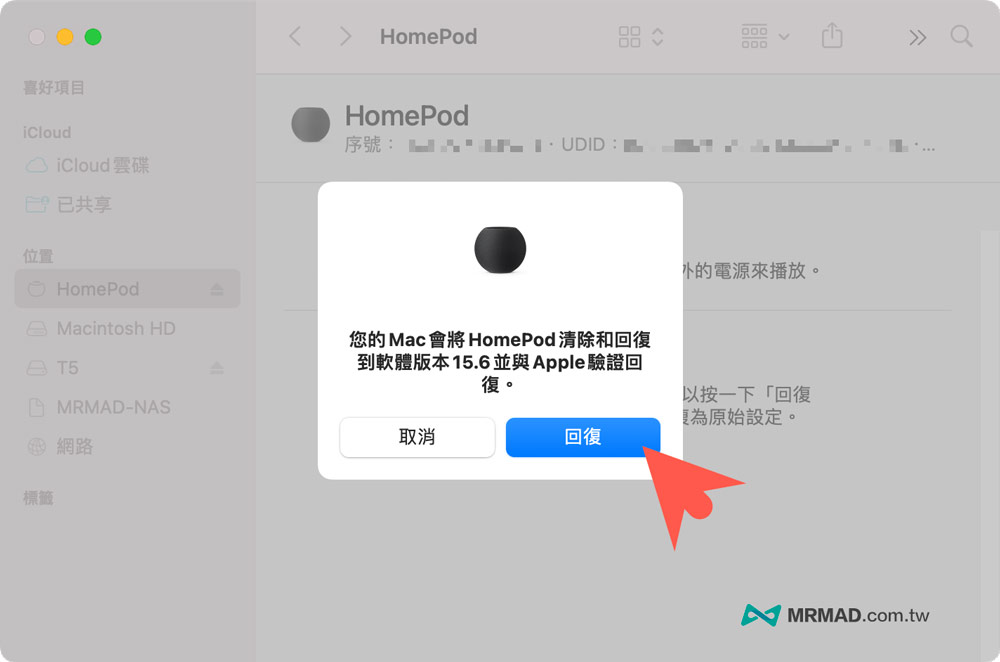
Would you like to clear and revert HomePod to an older version? Click “Resume” to start downgrading HomePod mini.
After about a few minutes, the iTunes / Finder screen pops up with “Your HomePod has been reset to factory defaults” message, you can unplug the USB-C cable, put it back in its original position, and re-pair the HomePod mini, as follows:

HomePod Downgrade Feature Summary
If you find that after upgrading HomePod mini to the beta version, there is a functional abnormality, it is recommended to downgrade HomePod mini through a computer and restore it to the original factory settings. If you are not a developer, it is not recommended to upgrade to the HomePod mini Beta version. After all, the environment of the beta version is not stable enough. In the past, there have been many disasters in the audioOS Beta. For example, the temperature of the top panel of HomePod is too high, which may easily cause the failure of the motherboard, or the HomeKit accessories in the home appear unresponsive from time to time.
More practical tips: