
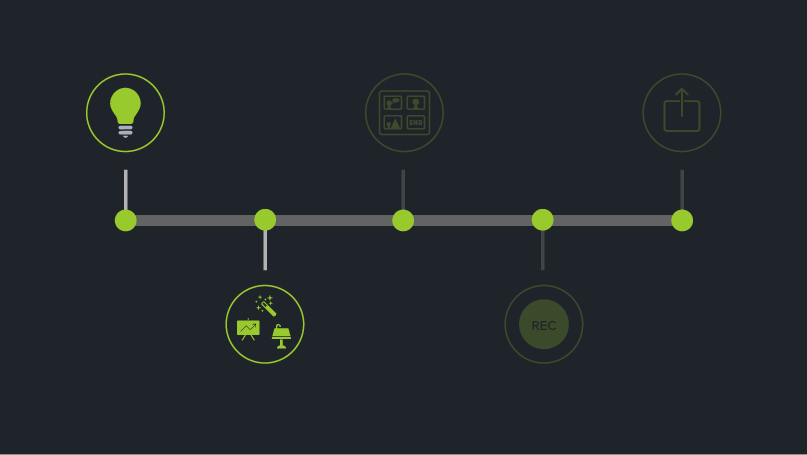
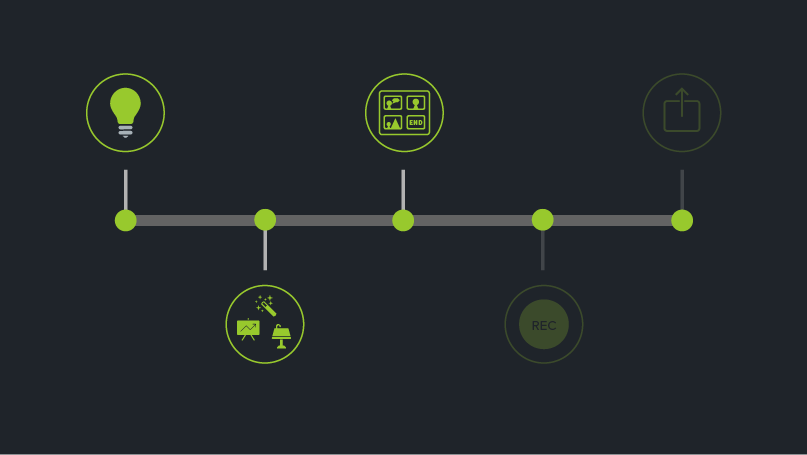
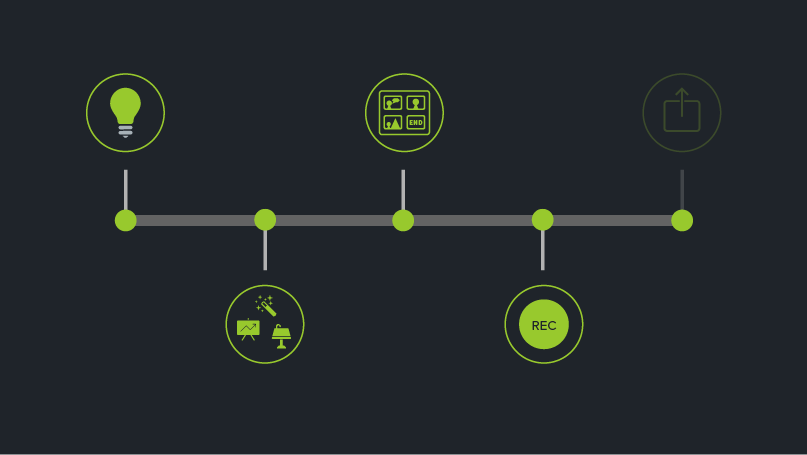
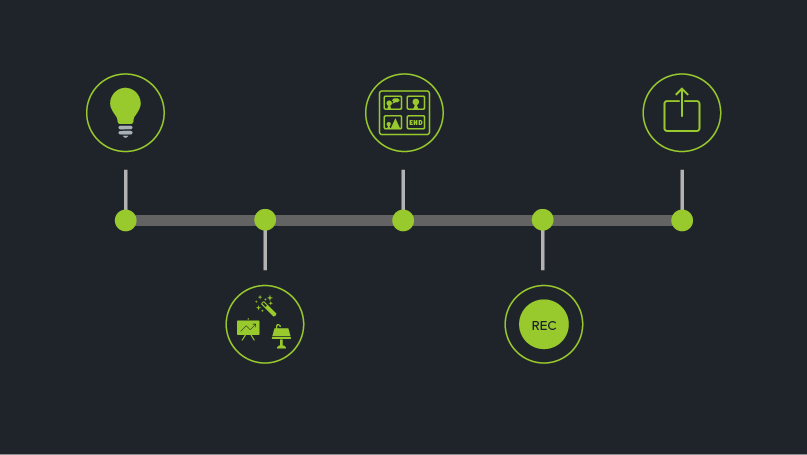
In 5 steps to the instruction or training video
Videos are one of the most popular types of media on the internet. Short, informal videos are offered and watched everywhere on Facebook, Twitter and Snapchat. Videos are also well received in education and training, whether training and education videos or recorded webinars and tutorials. For this reason, trainers, teaching staff and everyone involved in education should look into creating instructional and training videos and include such videos in their teaching materials.
Are you new to this field and looking for an easy guide to create an excellent training video for a company or further education? In this article, we will show you step by step how to create a video for education or training. We introduce different video types and explain how to edit and improve your videos in such a way that your users actively watch and learn successfully.
Step 1: Choose the topic of your training video
Choosing a meaningful, work-related topic is the first important step in creating corporate training videos. Today, a video is only watched to the end if the expected information is provided. Choosing a topic that your target audience will find interesting and important is critical to the success of your videos.
Define your target audience to choose the right topic. Understand the needs of this audience. Take the time to identify the topics that are of most interest to the target audience or the areas where help is most needed. Depending on your location and viewership, you should adjust your research accordingly. If you are supposed to offer internal training, then interviews with employees are a good way to find out the key issues. If you need to create video documentation for external users or a larger audience, a poll might be the best method. Existing online forums and other resources also help with topic selection.
Narrow down your topic. Focus on a specific idea. If this is difficult, make two videos that build on each other. Video series are ideal for breaking down complex topics into manageable, easier-to-understand learning units.
Step 2: Choose a format for your video content
Decide what type of training videos you want to create based on the resources, time constraints, and decision maker expectations. The amount of time and effort required varies greatly depending on the format chosen. Here are some examples for guidance:
Screencasts
A screencast is a recording of your computer screen. If you want to explain new software or a new computer system to employees, then such recordings should be included in your video. Screencasts can be informal or very professional.
mikro-videos
A micro-video is a very short video, only five to fifteen seconds long, that introduces a single process or idea. Such micro-videos sometimes only contain visual elements or text, but no spoken commentary. Micro-Videos are a good choice when you want to show and explain various simple processes that don’t require lengthy training videos.
speaker video
Record the presenter when conducting on-site training. You can still edit the recording and integrate it into your online learning program. In this way, all employees can experience the training even if they were unable to attend the event.
Demo-Video
A demo video is the right choice to get to know workflows. These videos introduce viewers to a specific product, service, or workflow. Many of the DIY videos on YouTube are in this format.
role playing
In a role play, different interaction alternatives are presented in a specific situation. These videos are ideal for simulating sales situations or showing technical support processes and other social interactions. A bit of acting is involved, but this format is very useful when you want to teach behaviors and give viewers a realistic insight into situations and a sense of practical case studies.
animations
Animated videos use text and graphics to convey messages. Animations resonate with viewers, but it takes a bit of technical know-how and some artistic flair to create videos like this.
Interactive videos
Interactive videos actively engage viewers. Depending on the answers viewers give to questions, they get to a different part of the video. If you want to show viewers what could happen as a result of a particular decision, these videos are a good fit.
Video editing – simple, intuitive and with extensive functions
Camtasia is a professional video editing tool. Trim and crop your videos and add interactive elements, text annotations and sound like the pros.
Download Free Trial
Step 3: Script and storyboard for the training video
You probably have a certain sequence of scenes in mind when you think about your video. Before production, you should put your ideas on paper and create a storyboard and script. This preparation will help you avoid mistakes and reduce production costs.
First write your script in your text program. Imagine having the audience right in front of you. If you want to make a screencast or a micro-video, explain the individual work steps one after the other.
Then create a storyboard. Here the visual video sequences are indicated by means of simple sketches or images. Screenshots or images give an idea of what should be shown later in the video. This shouldn’t take long and the drawings don’t have to be perfect. Stick figures are sufficient as a guide.
Step 4: Recording and editing the training video
Have you finished your preparation? Then it’s time to record your training or instruction video. You don’t have to be a video pro to create a quality video. A little practice is enough. Your smartphone in your pocket is sufficient for many types of videos such as interviews or role-playing games. If you are planning a video with a screen recording, then you need a good screen recorder in addition to your computer with a screen. A screen recorder like Snagit is sufficient for simple screencasts. If you want to edit your screen recording afterwards, use a program like Camtasia that has a video editor.
After recording, you can use various editing functions to further enhance your video and make it more visually appealing. Examples:
- Remarks
In screencasts and other videos, annotations indicate specific, important details. Arrows and differently shaped speech bubbles help viewers find their way around. Combined with animations, such annotations show viewers what’s important and where to pay attention. - text overlays
Text information, which is displayed in the lower third of the video as so-called lower thirds, looks very professional. You can introduce the respective speaker here or emphasize a specific idea or argument. - animations
Animations add movement to text and shapes. You make your videos more interesting for the viewers and there is no boredom. Using your own themes or the ready-made Camtasia behavior effects is a quick and easy way to get creative with text, shapes, and other graphic elements in your videos. - Show who is speaking.
Show who is speaking in your videos. In screencasts, this is made possible by recording the web camera. You can switch between speaker and screen. This gives your videos a more personal touch and creates trust. Look straight into the camera. - Interactive elements
Training videos that actively engage viewers are popular and trusted in enterprise-wide learning programs. With interactive hotspots, viewers can get additional background information, jump to a specific point in the video or continue to the next video in a series.
Step 5: Production, Hosting and Distribution
We’ve now made it to the last step to get a quality training video: production and hosting. This is where we decide how we make our video accessible to viewers.
The video is rendered during production and is then available as a video file outside of the video editor. You’ve probably heard by now how many different video file formats there are. The most popular and versatile format is MP4. We recommend producing your videos as MP4 files unless you need a different file format for some specific reason. Produce with the same dimensions you used for machining. We have a short tutorial for you on producing and sharing with Camtasia.
After production, the video needs to be published or hosted. Hosting is possible on different platforms. YouTube and Vimeo are popular video sites, but there are other hosting alternatives. It also depends on whether you want to show your video publicly or only provide it internally.
An in-house learning platform, a knowledge base or an internal website are then possible hosting options. Another way to distribute education or training videos, especially with screen recordings, is Screencast.com. There you can easily publish and manage your videos and make them accessible to your users via a link. Create your video in Camtasia, then you can publish your video to YouTube or Screencast.com directly from the program using the Share feature.
Create Excellent Training Videos with Camtasia
Download the Camtasia Free Trial and Produce Professional Training Videos! This can be done in no time with this intuitive software.
Download Free Trial