: Install Windows 98 System on DOSBox Pure | T Kebang")
After knowing how to use DOSBox Pure to execute DOS games, the next step is to install the Windows 98 operating system to facilitate the execution of corresponding games.
Install Windows 98
DOSBox Pure can directly simulate the DOS environment. As for the Windows part, the player needs to install the operating system by himself. It is recommended that the player prepare the Windows 98 installation CD by himself, and use the burning software to read it as an ISO format image file for backup.
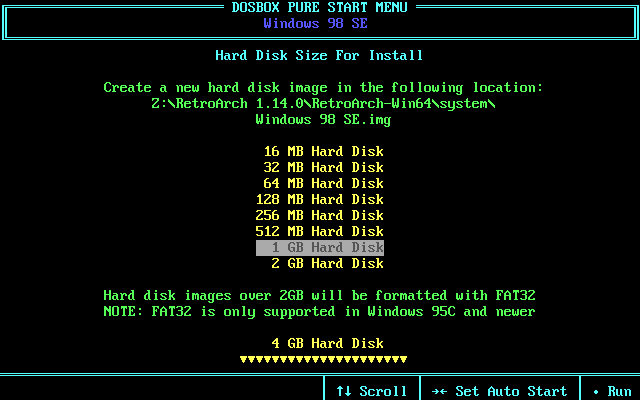
During the process, DOSBox Pure will be generated under the “RetroArch/system” folder
After the installation is complete and the emulated system is started, DOSBox Pure will
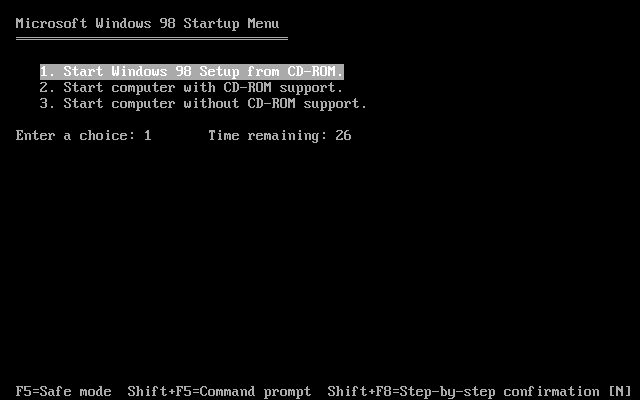
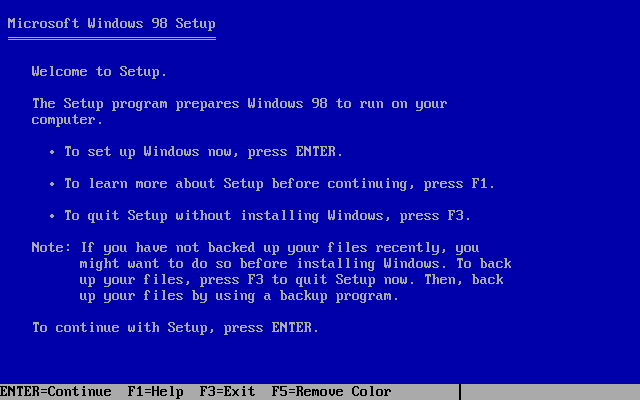
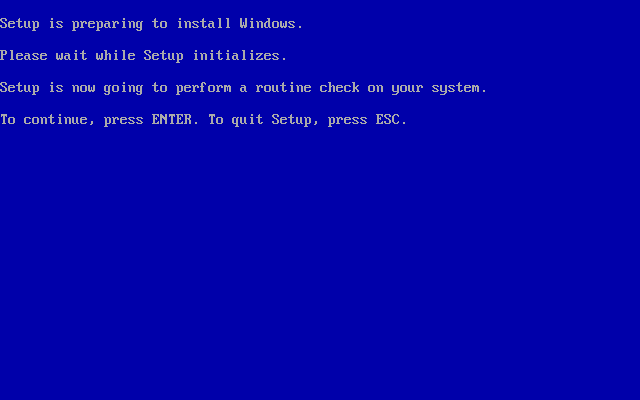
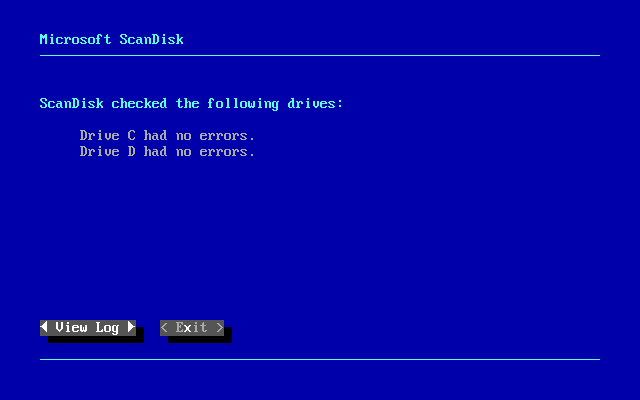
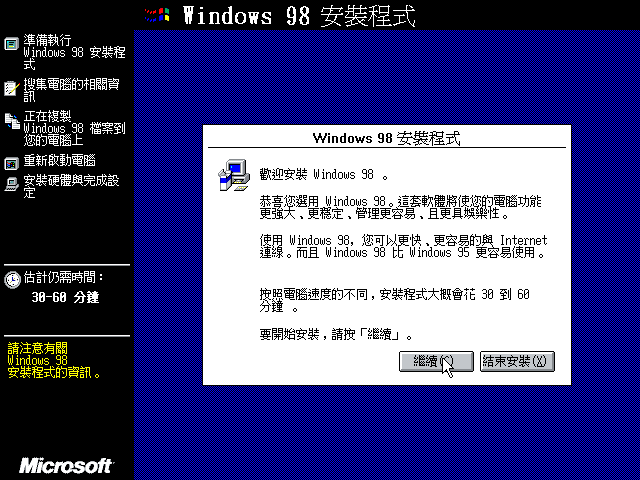
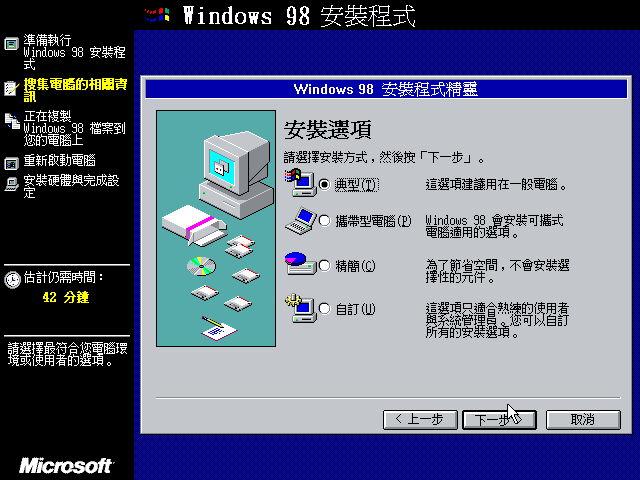
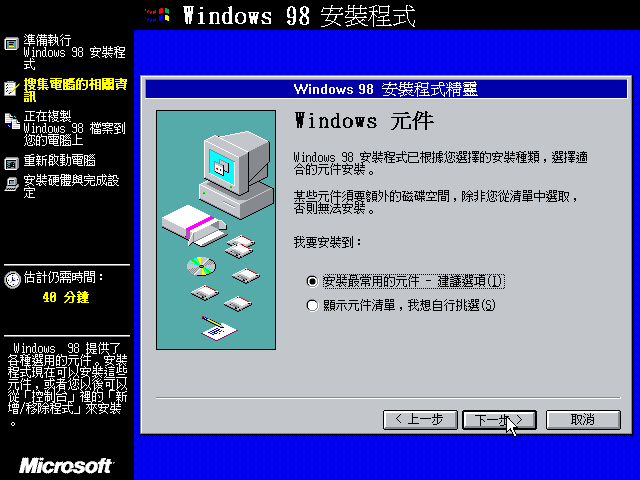
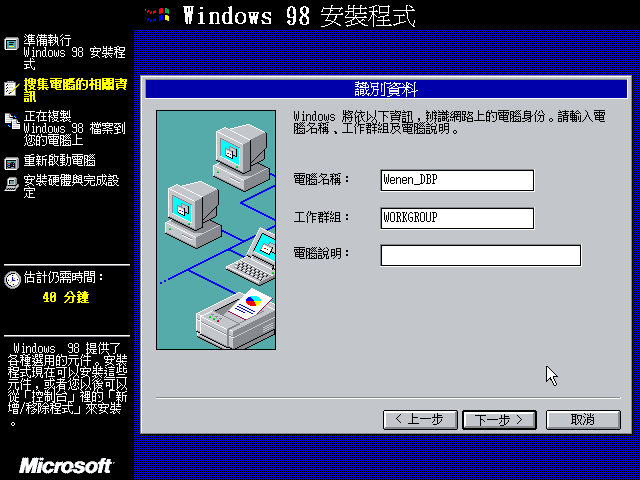
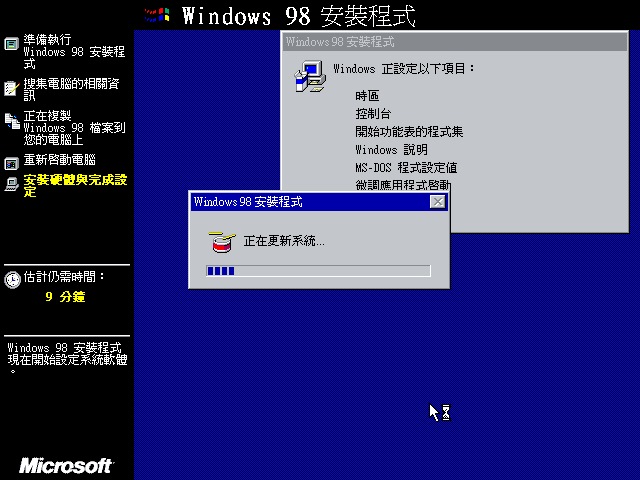
The author explains the Windows installation steps through diagrams below.
▲ When DOSBox Pure executes Windows, if only the system image file is loaded but no game is loaded, the changes to the C slot will be written
▲ If the game compressed file is loaded,
▲ If you load a game disc image file,
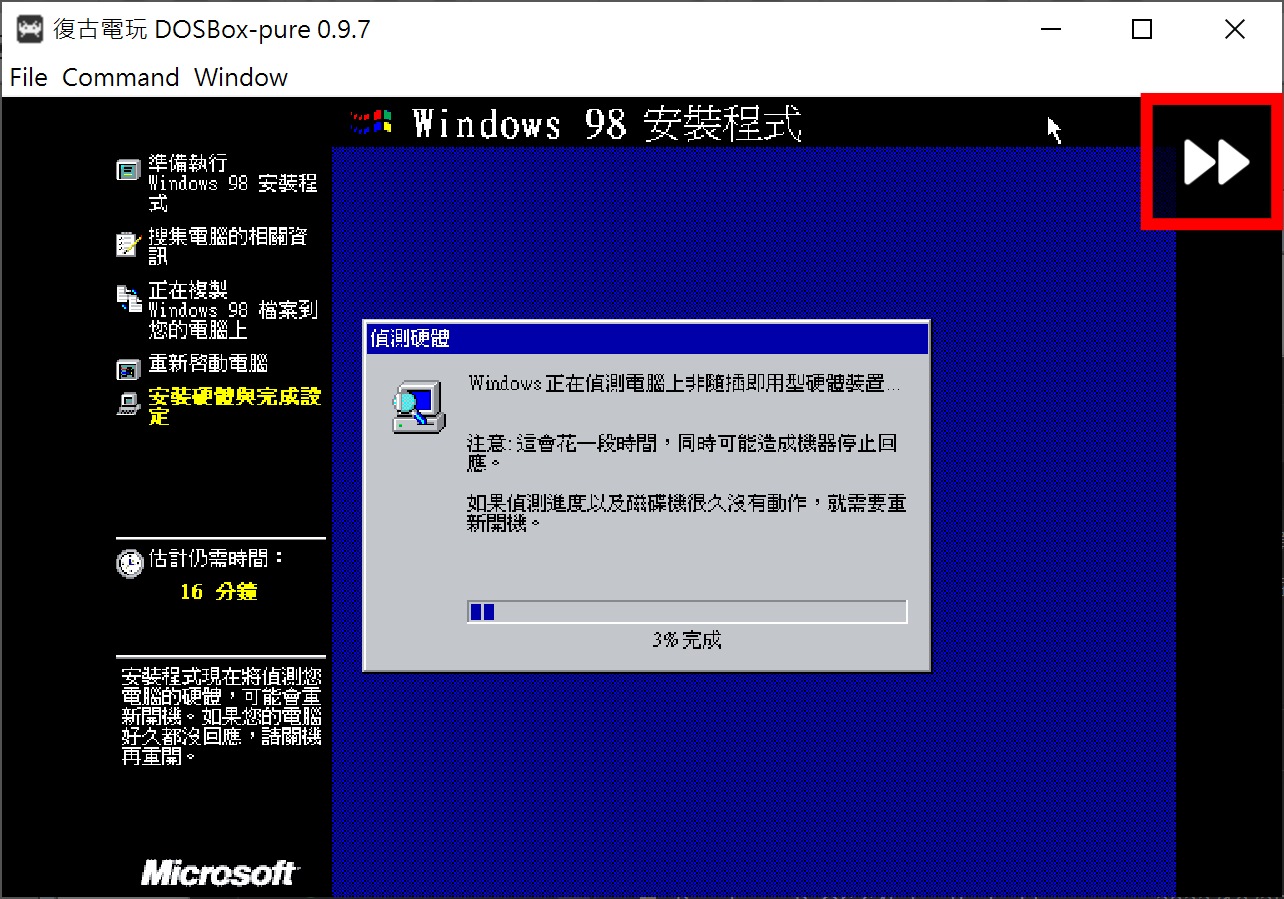
Menu->Pause the game when not in window operation” in the main menu of RetroArch to off. In addition to allowing the emulator to install in the background, according to the author’s own experience, the installation process can also be avoided Crash.” width=”720″ height=”611″ src=”https://cdn2.techbang.com/system/images/663491/original/dbbddf127bdbf989526eefb42be30333.jpg?1674010122″ class=”lazy”/>
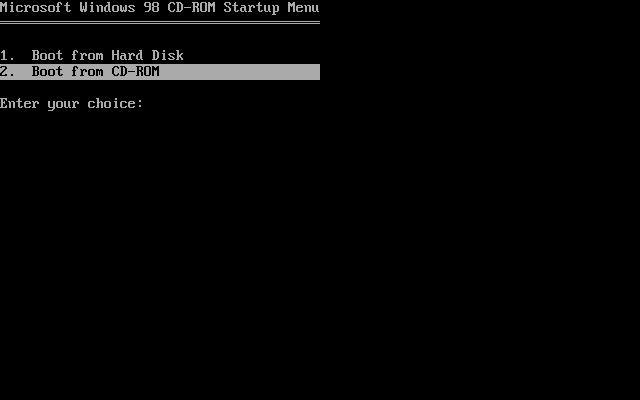
![After loading the file, the DOSBox Pure startup menu will appear, select here[Boot and Install New Operating System]。](https://cdn2.techbang.com/system/images/663492/original/c2fc3b208ebe54f40abd0c152365a8fd.png?1674010123)

![If you encounter a crash during the installation process, you can try to load the disc image file again in the RetroArch main menu, and then select[Run Installed Operating System], and select the image file just created, there is a chance that the installation can be continued successfully. If you can't continue, delete the image file and start from scratch.](https://cdn2.techbang.com/system/images/663503/original/ce260fe02aa77c53074cbee485bd6c10.png?1674010144)

Set up MIDI and “return card”
Since many early games use MIDI sound sources, we can enhance the music performance by applying different SoundFonts. For example, place the Roland SC-55 SoundFont file with the extension sf2 in the “RetroArch/system” folder. Then load the file Windows 98 installation CD image file by RetroArch, and select[Run Installed Operating System]Enter the system, set according to the graphic process below, and you can enjoy the effects of different synthesizers.
On the other hand, the author also recommends turning on “Discard OS Disk Modifications”. This function is a bit like the “restore card” in computer classrooms or Internet cafes in the past. It can automatically “restore” the system to the current state every time it is turned on, which can avoid Incorrect operation or crash will cause system damage.
However, it should be noted that no matter if you want to install a new program or install a game to the D slot in the future, you need to turn off this function first, and then turn it on after the installation is complete.
Core Options -> Audio Options -> MIDI Output” to select the SoundFont to use.” width=”720″ height=”504″ src=”https://cdn2.techbang.com/system/images/663508/original/4cc0a3d8b027dc4ea7801cb2dd1483ce.jpg?1674012269″ class=”lazy”/>
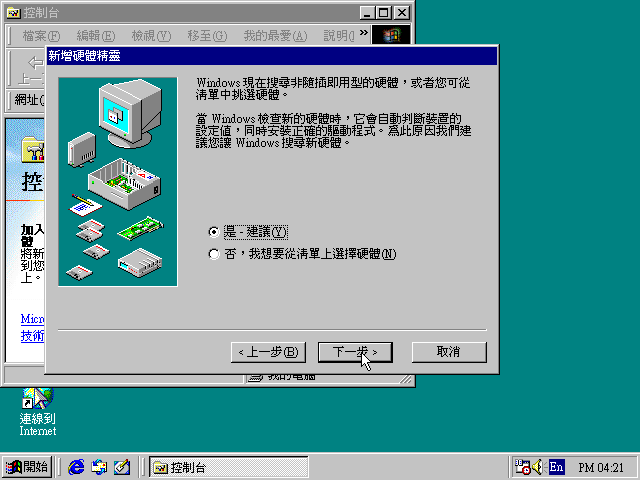
Add New Hardware” to install the MIDI synthesizer.” width=”640″ height=”480″ src=”https://cdn2.techbang.com/system/images/663509/original/485b3018e5acf4deee54681704ab045c.png?1674012271″ class=”lazy”/>
Multimedia -> MIDI”, select the newly added MIDI synthesizer in the single instrument device, in the example it is Roland MPU-401, and you can enjoy the effects of different synthesizers.” width=”640″ height=”480″ src=”https://cdn0.techbang.com/system/images/663511/original/7920f10ae94d9caae855a24439e7f098.png?1674012274″ class=”lazy”/>
▲In the second half of the experimental video, the author first shows the effect of the Roland SC-55 SoundFont, and then shows the effect of the built-in components. It can be heard that the music performance is obviously different.
Core Options -> System Options -> Discard OS Disk Modifications” to ON, so that changes to the C slot will not be written

With everything in place, the only thing left to us is a hands-on Windows game in our next article.
(Back to series article directory)