.jpg "A door with a story — Hart Amsterdammuseum")
In 2019, one of the garden doors of Museum Willet Holthuysen was extensively restored. The door has been stripped of later additions from the twentieth century and has been returned to the 19th century situation with, among other things, authentic curved hinges and a painted wood grain imitation.
Introduction
In a house museum that is open seven days a week, certain parts of the building, such as the doors, irreversibly wear out due to intensive use. An exterior door is also exposed to major climate differences between the exterior and interior.
The museum has traditionally attached little value to the areas of the building for the service staff. The decor here was obviously simple and austere and therefore less interesting from an art-historical point of view. For example, it was possible that the basement was converted into a staff residence for the three successive caretakers and also served as a coal shed and bicycle shed. More recently, spaces that used to have a completely different function were used for ticket sales, the cloakroom, the catering kitchen and for receiving groups.
The low appreciation continued in the way in which damage was repaired: when restoration seems to be expensive, people soon decide to replace the window, door, frame or even ceiling and floor in question.
(For an overview of the innovations in the basement: see this previously published blog)
Although an uncomplicated construction such as our garden door could certainly have been copied, the major disadvantage of a newly manufactured replica is that it lacks all traces of age, use and repairs. Moreover, there is often a tendency among the makers involved to want to do it ‘better’ or at least more modern than the original, which means that information about historical technique and use of materials is lost.
Extensive documentation and/or storage of the original elsewhere offers only partial relief, because the historical cohesion is lost through the alienation of the object from its environment. Moreover, it is impractical and costly if the storage capacity of the museum is claimed for the length of days for building fragments.
That is why this time we have tried to preserve this ‘ordinary’ historical part as much as possible and to change it as little as possible. The experience of still preserved authentic aspects in the basement was paramount.
Condition of the door
Prolonged water had affected the woodwork of the door in a number of places. Due to the placement in the north facade and also due to the construction around the iron grille, the whole often remained damp for too long, which meant that mold could develop. Modern paintwork offered no protection against this, in fact; it formed an impermeable film that promoted rather than prevented mold growth. In addition, improper repairs to the hinges and locks had been carried out on a number of occasions, as a result of which the closing style was weakened and the door no longer turned properly.
Fig. 3 The middle rail of the door was affected by water ingress through the cast-iron grate. Fig. 4 Ditto on the inside.
Therapy
When restoring a door, it is usually unavoidable to completely dismantle the construction. Only in this way can the individual styles, rails, frames and panels be joined together, after which the connections can be made solid and fit again. An additional advantage of such a dismantling is that traces of previous repairs and adjustments come to light that can tell something about the history of the object.
Fig. 5 Removed the door
Fig. 6 The affected top rail 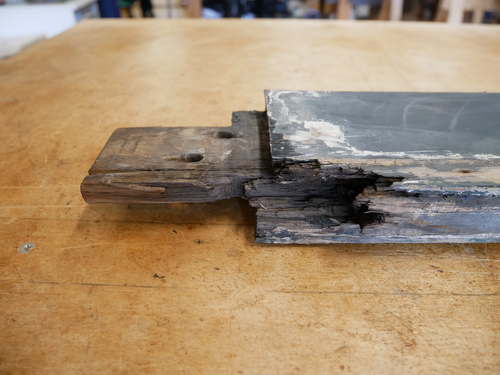
For example, executive restorer Reinier Klusener discovered that this door was renovated at a certain point; it has been modified to accommodate the large modern cast iron grate and revolving window behind it. That grille is not, as usual, set in a planed groove in the styles and rails, but in loosely mounted frames. A technically less than ideal solution that indicates that the rules and styles have been adjusted. Beneath that, the traces of a pair of crossbars from an earlier window in the upper part of the door were still visible.
Fig. 7 After removal of the inlaid profile frames, traces of previous bars came to light in the rebate. In the detail of the top of the middle line, the start of the crossbar with bar nail can be seen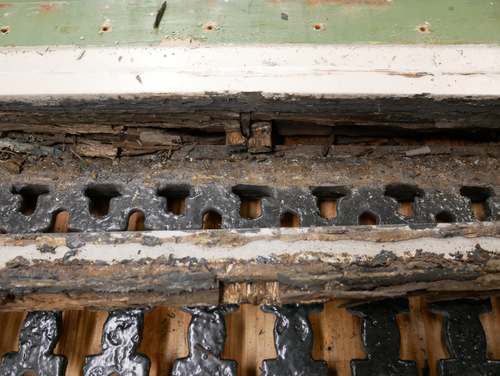
This adaptation from a door-with-cross-bar window to a door-with-turned-window-and-cast-iron upper grate is probably nineteenth century. The painting is a light oak wood imitation that is also found on all other doors of the basement. This probably dates from the time of the Willet-Holthuysen family (1860-1895). It is striking that we often see in the house that old doors have been adapted for these residents and, for example, decorated with fashionable profiles or imitations of wood grain that were popular at the time. Apparently, ‘up-cycling’ of existing interior items was also common among such very well-to-do homeowners.
Fig. 8 The cast iron grate was leached clean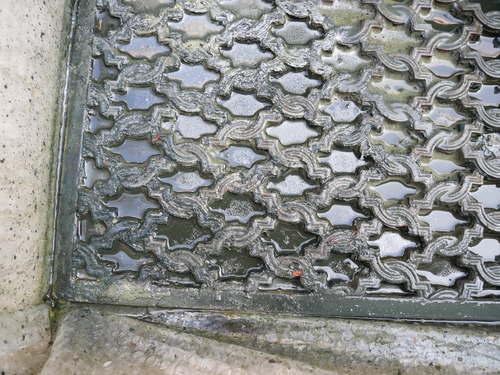
Fig. 9 The cast iron grate after cleaning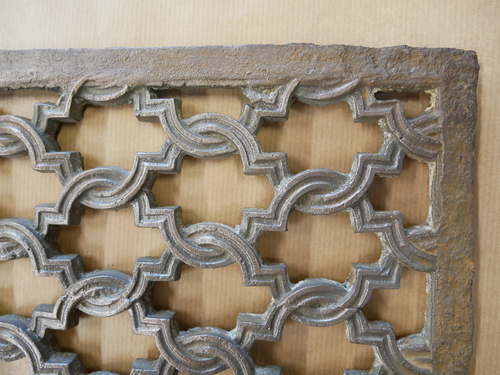
Fig. 10 Klusener applies the first layer of primer.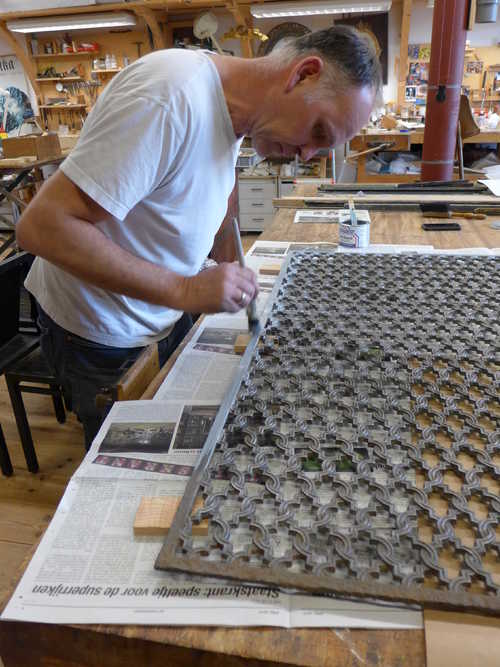
After dismantling, healing followed, the repair of damaged parts, usually with glued pieces of healthy pine wood. Klusener strove to carry out the construction as authentically as possible, for example with unglued mortise and tenon corner joints that are only closed by bar nails. The cast iron grate remains a weak point in the construction; it makes the door extra heavy and the grille is mounted on the outside so that rainwater drips off and collects in the groove below. The restorer has therefore made slots in the groove to allow the leaking water to drain off quickly. The heavily worn modern leaf hinges have been replaced with reconstructions of the original heavy curved hinges. These are copied from historical models and are expected to be better able to support the weight of the door.
Fig. 11 Placing bar nails in the mortise joints 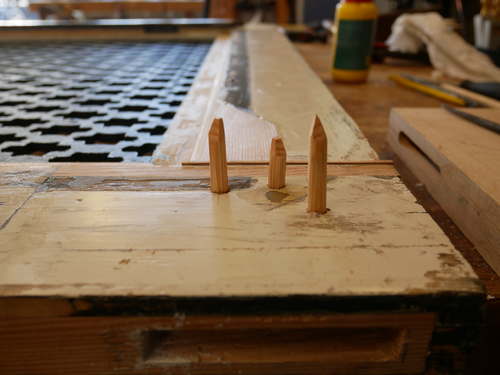
Fig. 12 Detail of the corner joint after mounting with new inserts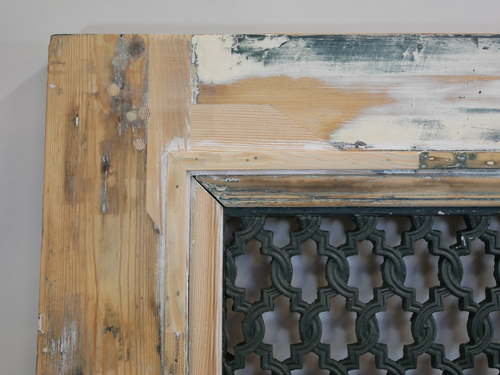
Fig. 13 The bend joint or knee with the turned blades from which it takes its name (top). The leaves protrude into the frame jamb on one side and into the door jamb on the other, after which they are secured with nails or screws. At the bottom left a leaf hinge.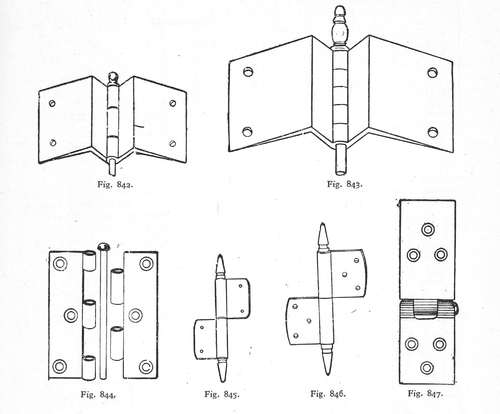
Fig. 14 A newly forged knee has been disassembled to place on it. 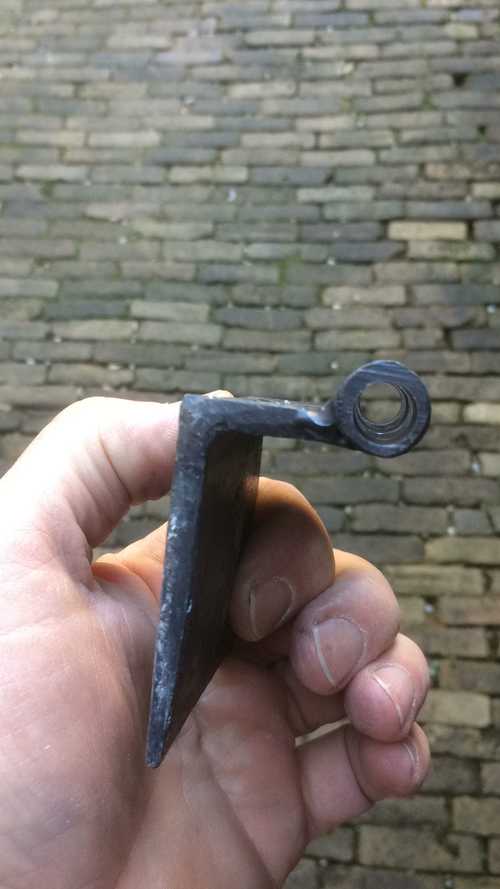
Fig. 15 The knee is placed, the holes for the locking screws are still open. An inserted repair piece in the frame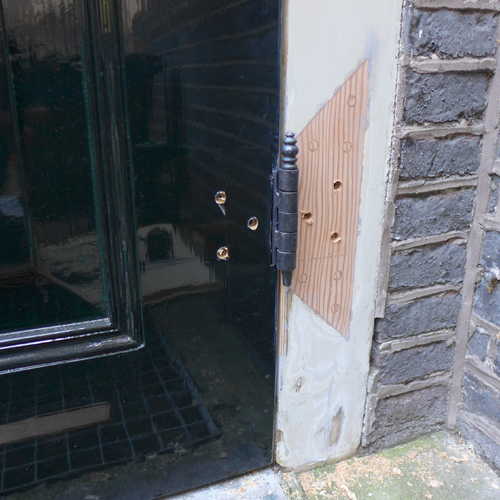
After the outside painting in canal green and a basic color on the inside by Klusener, the restoration painter and color researcher Karin van der Lem took care of the light oak wood imitation on the inside of the door. A water sauce has been beaten on a light ocher ground layer, an oil glaze has provided more depth and a final varnish provides shine and protection.
Fig. 16 Stratigraphies (steps of paint) show the successive layers of paint, showing that the door was ‘wooden’ several times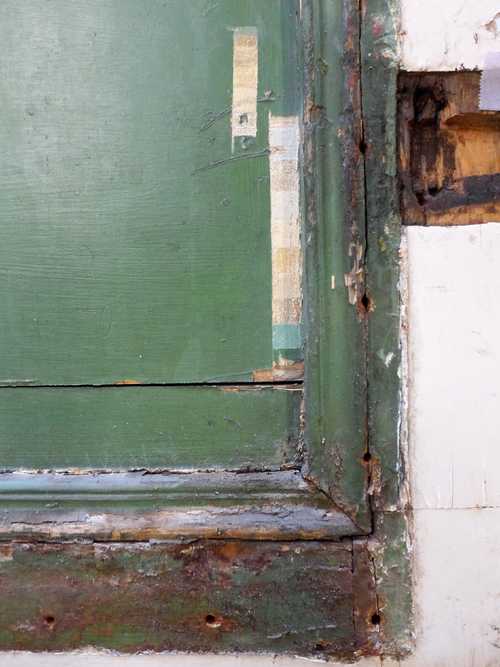
Fig. 17 Test samples based on the paint layer study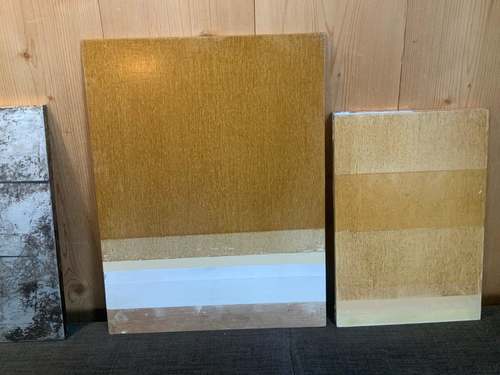
Fig. 18 a to d Successive stages of applying the wood imitation on the inside of the door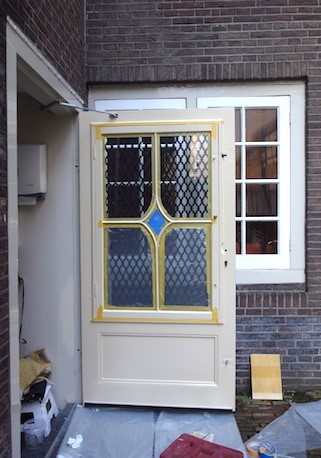
Afb. 18 b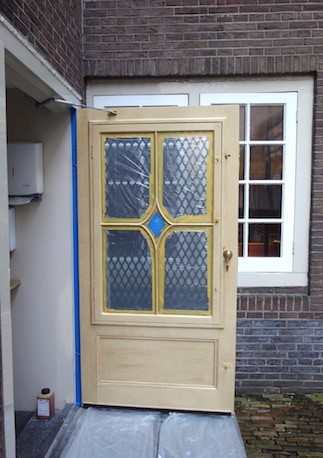
Afb. 18c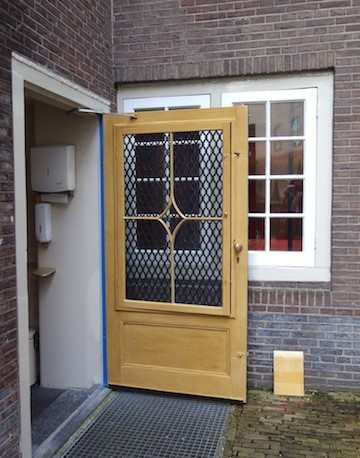
Afb. 18d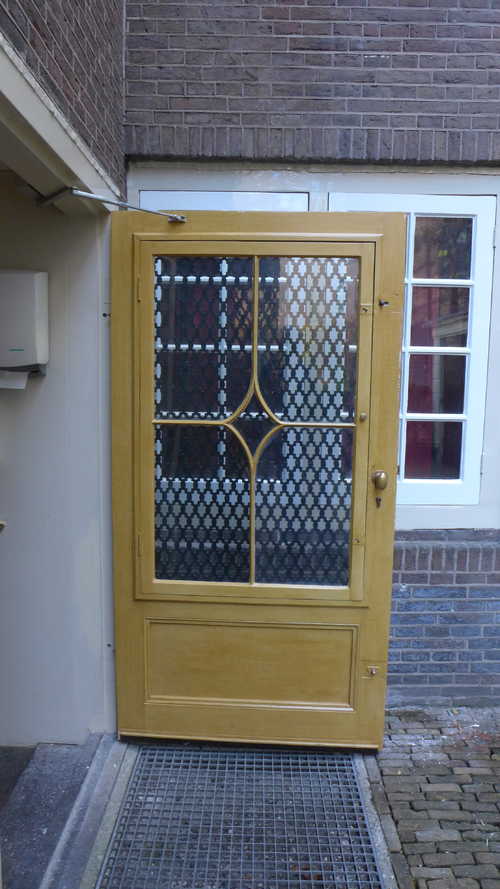
Fig. 19 The outside of the door after restoration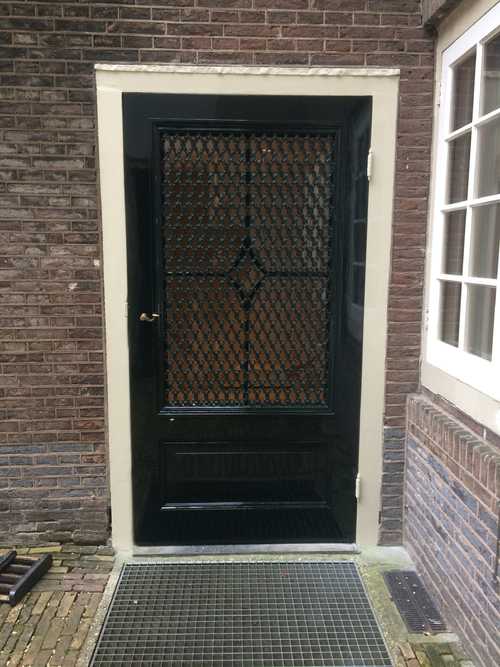
Photos: R. Klusener, J. Boonstra, K. van der Lem