
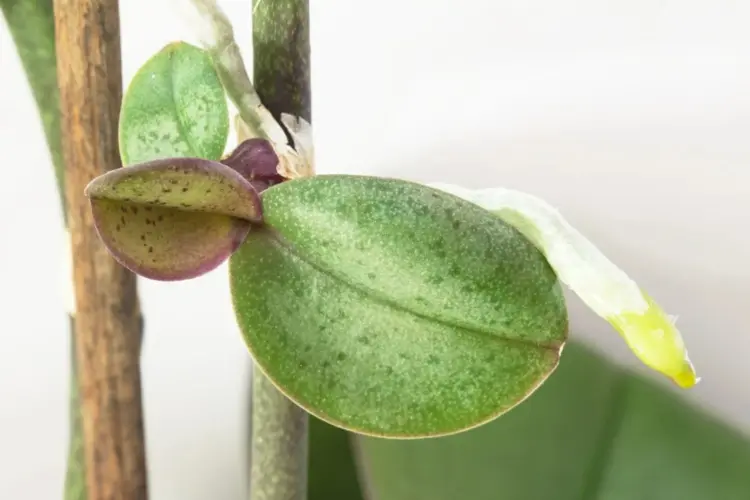
That feeling of happiness that you get as an ochide grower when you suddenly realize that it’s not just a new flowering shoot growing out of the old stalk, but a completely new baby orchid, isn’t it wonderful? What an interesting way to propagate an orchid! So now it’s growing comfortably there, but then what? What is the right way to proceed if you want to separate the so-called Kindel from the mother plant and then plant it in its own pot? Don’t worry, we’ve rounded up everything you need to know to grow a healthy new plant from your orchid cuttings on a stem. You can plant offshoots of orchids as follows:
When can you separate offshoots from orchids?
Don’t be in a hurry when you notice the new baby. In the beginning it is dependent on the mother plant and is supplied with moisture and nutrients by her, since it does not yet have its own roots. This is also the keyword when it comes to when it is the right time to cut off before planting offshoots from your orchids.
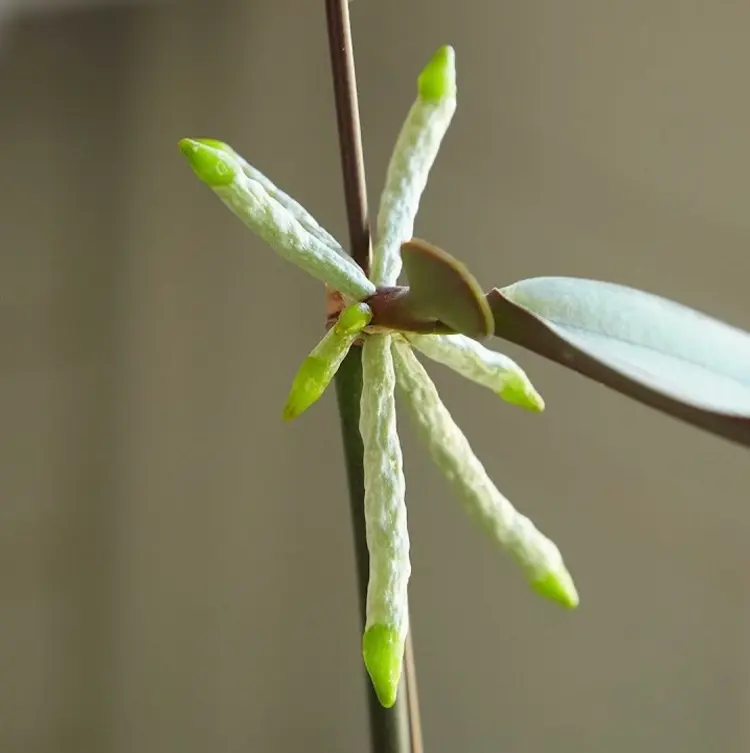
First the first leaves appear. You are one of the requirements. But your own roots are just as important so that the new orchid can take care of itself. So wait for a few more roots to grow (and by “wait” we really mean wait: it can take up to a year for the kid to mature enough). In theory, one would be enough. If you wait, however, you will still have a few “reserves” in case a root is damaged during the cutting and planting.
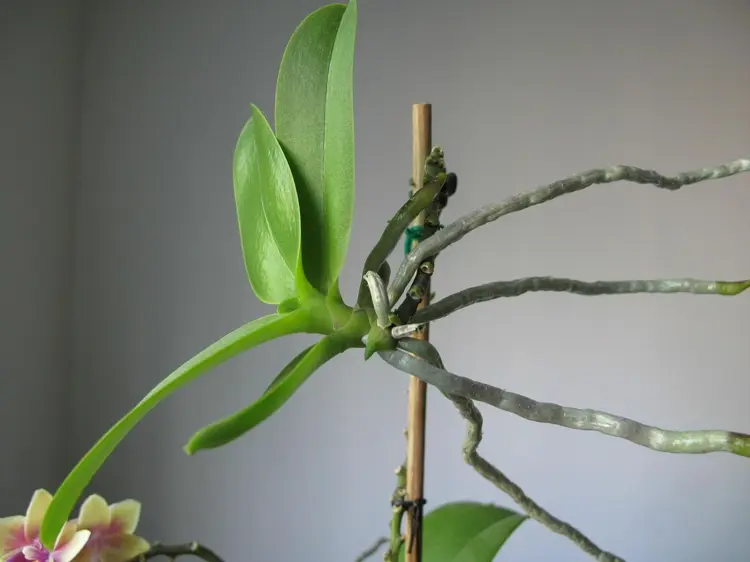
Not only a minimum number of roots is important, but also a minimum length. After all, they should be big enough to cover the nutrient requirements of the plant. As soon as they are three to five centimeters long, the big day has come and you can cut off the orchid offshoot.
How to cut off the kindel
You need a sharp and clean knife. You should also be sure to disinfect it so as not to accidentally transmit diseases to the mother plant and the child. Place the knife on the stem of the mother plant in such a way that when you cut off the child, a piece of the mother shoot about 3 centimeters long remains on the child. Be careful not to accidentally break the roots. Then you can already plant the orchid offshoot.
Plant orchid offshoots – this is how you do it right
You need a suitable pot and of course fresh substrate. A diameter of six to eight centimeters is enough to give the plant enough space for the next few years. Since it does not yet have long roots that would give it sufficient support in the loose orchid substrate, you should better use a fine-grained substrate for a plant of this size and root length and quantity.
Plant orchid offshoots correctly:
Plant the orchid so that at least part of the roots are in the substrate. Once she has settled in, she should develop the first new roots that you can then let loose.
A notice: Before you plant the orchid offshoot, you can also dip the small plant in lukewarm water for a few minutes so that the roots can soak up. This makes them more flexible and less brittle, reducing the risk of injured roots when potting. You can also do this with your large orchids when you repot them.
Plant orchid offshoots and care for them properly
Where and how should you grow the orchid offshoot from now on? You don’t have to water for the time being, especially if you followed the tip and submerged the plant before planting. Instead, give her about 2 weeks to get used to the new environment. But what should this new environment look like?
In any case, avoid a sunny place or, better said, a location in direct sun. However, it can and should be bright. Also, make sure it’s not too cold. After the first two weeks, when you can start watering regularly, you should water sparingly at a time. The sensitive roots could rot quickly.
Bonus tip: if the kindle isn’t rooting
You’ve been waiting for several months now, but for some reason the mini orchid doesn’t develop roots? You can stimulate the process with a simple trick: buy moss from the flower shop and wrap a piece of it around the little orchid – where the roots should grow out. You can use floral wire to tie it up. Now moisten the moss regularly. It is best to spray it every day.
How to cultivate Phalaenopsis without soil, you will learn from this article.