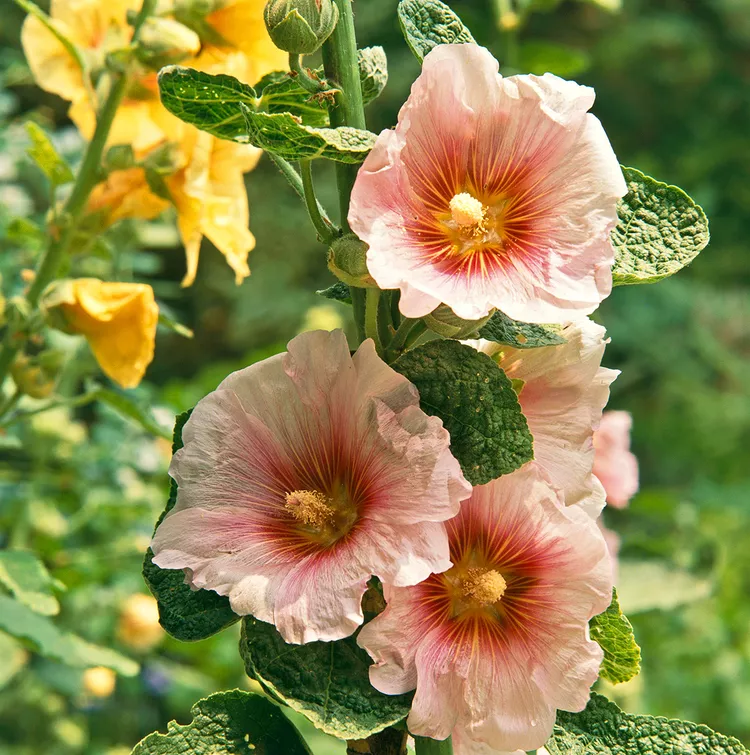
Late summer is an exciting time for everyone who loves hollyhocks. Because now you can prefer hollyhocks. In autumn, the young plants are placed in the bed or in the tub so that they can grow there before the first frost.
The hollyhock is particularly popular for its filigree flowers and traditionally adorns gardens and balconies. Cultivation from seeds is uncomplicated and will easily succeed even for inexperienced hobby gardeners.
Prefer hollyhocks: This is how you can grow them in pots
The right time for this is late summer when the seeds are harvested. In early autumn, the plants that have been brought forward can then be planted in the bed, where they can survive the winter outside with winter protection. In the first year they expand their roots and foliage and react very sensitively to changes in location or care errors. The flowering period begins in the second year.
Harvest the seeds
From around the beginning of August, the hollyhock begins to form seed pods. After about 10 to 14 days, these will turn light brown, dry up and open up. Then you can carefully open the fruit capsules and carefully loosen the seeds with a spoon. The seeds are then allowed to dry on newspaper at room temperature. Planting can begin after just 72 hours. Alternatively, you can line a disposable glass with kitchen paper and put the seeds in the glass. Empty cardboard advent calendar boxes are also good for storing seeds.
Sow the hollyhocks: instructions
The hollyhocks are best sown immediately after harvest. The ideal room temperature should be 15 degrees Celsius. If you want to grow the hollyhocks in pots on the balcony or terrace, you should place the seeds at least 20 cm apart in the ground. The hollyhocks feel best when they are soloists in the tub or combined with other low-growing plants. How to proceed correctly when sowing:
1. Mix the growing substrate yourself: Mix the growing soil with compost and sand in a ratio of 6:2:1. Loosen the soil. Fill the pot or bucket with the substrate.
2. Plant three seeds per 30 liters of soil volume. Place the seeds at a distance of 6 cm – 7 cm from each other, cover with a thin layer of potting soil. Alternatively, you can grow the seeds individually in seed pots and then transplant them.
3. Keep the soil moist for the next 20 days to allow the seeds to germinate. The young plants should sprout after about 2-3 weeks and form a pair of leaves. Then you can transplant them in threes.
4. However, you must not miss the right moment for transplanting. Hollyhocks are deep rooters and there is always a risk of damaging their roots once the plants are established.
5. In the large bucket, the seeds need at least 40 liters of soil volume and ∅ 50 cm to properly develop their root system.
The best time to plant out in the garden is late summer, at least two weeks before the first frost.
Popular planting partners
Many perennial plants are suitable as plant partners, but the iris flowers, forget-me-nots, phlox and autumn asters look particularly beautiful.
This is how you continue to care for the young plants in tubs
The young plants are fairly easy to care for, as long as you follow a few basic rules.
If they are placed outside in autumn, they need a place on the balcony or in the garden that is protected from rain and wind. Since they shoot up very quickly and the stems can snap very easily, they need to be supported. It is best to tie the roses directly to a bamboo stick.
During heat waves at the end of summer and beginning of autumn you can increase the watering. Never let the soil dry out, but also make sure that there is no waterlogging in the bucket. A thin layer of mulch can also protect the soil from drying out. The young plants do not need pruning in autumn, but winter protection is necessary. It is best to cover the tubs with bast mats before the first frost, place them on a wooden board and cover them with spruce sticks. From the second year, hollyhocks are cut back to the ground after the end of the flowering period and no longer need winter protection.
The hollyhocks are among the most beautiful flowering perennials in the home garden. Fortunately, they are very easy to care for and can be brought forward without any problems. The right time for this is late summer – their capsules are ready for harvest in mid to late August. The seeds can be brought forward immediately or stored for next year. The germination time is 2 weeks, after which they sprout and form small shoots with a pair of leaves. The young plants are then transplanted and watered regularly during the growth phase. Fertilizer is only in the program in spring, instead compost is mixed with the potting soil.
