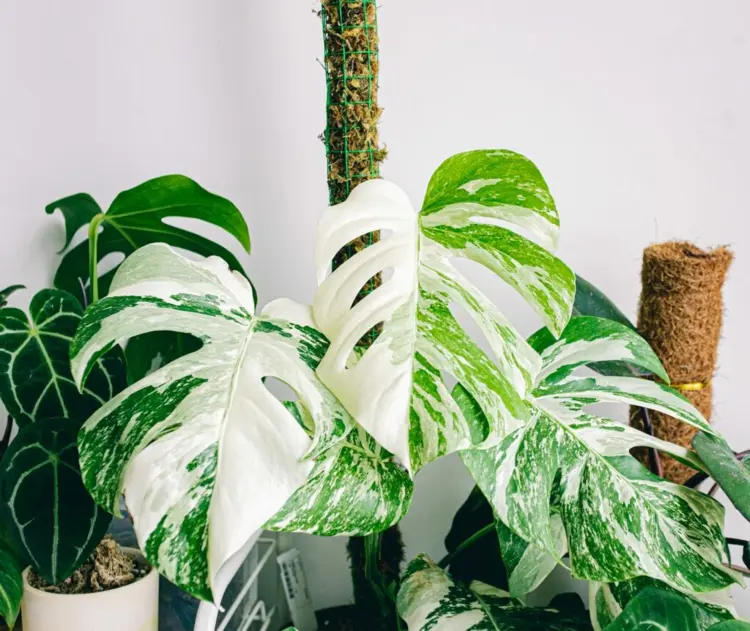
Some potted plants benefit from a trellis. The only problem is that there is usually not much room inside for entire scaffolding, even if they are quite small. A wonderful alternative are the so-called moss sticks. How about making a moss stick yourself?
Moss sticks are particularly popular as a climbing aid for the much sought-after Monstera and are very space-saving because they stand upright and are not wide like other scaffolding. In addition, they are really easy to build with only a few materials.
Build a space-saving trellis for indoor plants
If you are one of those Monstera owners who have so far tended their plant without a support, you are probably now wondering whether such a climbing aid is even necessary for the Monstera.
So, does the Monstera need a trellis? Well, while she still grows compact, she may be unnecessary. But once it gets longer and higher, such a help becomes quite practical. And the aerial roots can cling particularly well to a moss stick. What does it take if you want to make a moss stick yourself?
You can discover another idea for a self-made climbing aid here.
Make a moss stick yourself – it’s that easy!
You need the following materials:
PVC pipe or other type of stick as a base (wooden stick, bamboo stick, metal stick etc.) Spaghnum moss or reindeer moss (there are also wire, floral wire, wire mesh, plastic mesh or fishing line (depending on whether you want natural trellises all around) Bowl or baking tray with water, optional rubber gloves (in case the moss stings) scissors cable ties for the version with wire mesh
Gather all your materials before making the moss stick yourself. Then you can start with the instructions:
Submerge the moss in the prepared bowl/baking sheet to allow it to soften.
version 1 with wire mesh:
If you are using a wire mesh, first measure the length and width you need for your stick. You don’t need to cover the bottom part of the stick as you will be sticking it into the ground. Cut the trellis and spread it out in front of you. Spread the moss on the grid. Place the selected sticks in the center and wrap the grid around them. Fix everything with cable ties.
Variant 2 with normal wire or fishing line:
Work your way down from one end of the stick. Tie the string or wire at the top end. Now place moss around part of the stick and immediately wrap wire or string around it. Then move on to the next part, making sure all the individual parts overlap so the stick doesn’t show. Once you get to the bottom, you’re done. Here, too, you can leave the lower area of the moss stick free.
Variant 3 with plastic net:
Form a roll of any thickness from the net. Tie the ends together with wire, zip ties, or twine. Stuff moss into the obtained tube.
How to attach the monstera to the moss stick
If you were going to repot the plants anyway, now is the time. In this way, the moss stick can be used more conveniently. Place it in the empty pot and fill it halfway with potting soil. Now add the plant and more potting soil. Press everything firmly.
If you are not planning to repot, simply loosen the soil behind the monstera plant a little so that the moss stick can be inserted there. It is very important that you do this carefully, because the risk of damaging roots is very high. So dig gradually and don’t stick the stick into the ground too suddenly.
And how do you let the plant climb now?
Tie the long shoots (aerial roots) carefully to the moss stick. Use soft string for this purpose and don’t pull it too tight when attaching the monstera so you don’t injure it. Depending on how long the shoots are, tie them up several times. Over time, as these get longer, keep re-tying them to help her climb. You can also remove diseased or yellow leaves in these steps and you should continue to do so in the future.
It is also important that you prune the plant regularly so that it does not grow too wide, but upwards to remain more compact. This is how you train your Monstera, so to speak.
Make a moss stick yourself – a cool tip with colors
If you would like a few color accents, you can finally attach a few pieces of colored moss to the stick. You can buy these ready-made, but you can also dye them yourself with fabric or food coloring.
An alternative with pool noodle
You can make a fun alternative to the moss stick yourself that doesn’t require any moss, just a stick and a pool noodle. You put this over any stick after you have put it in the flower pot. Then, as you tie the shoots to the pool noodle, use a knife to poke slits in the foam where an aerial root is located. This allows the aerial roots to make their way into the support.
Another cool craft idea with pool noodles can be found here.
