We didn’t wait even a day: the eSim by Iliad, the fourth operator (the one with the lowest prices that has revolutionized the dynamics of the Italian market) we decided to convert our 150GB 5G sim into an eSim with the same characteristics.
We did it for convenience, to free up a slot on our phone (which uses only one line in Italy but if necessary can thus use our second sim which is usually kept on the test phones) and to see if the procedure was simple and successful.
The personal use appliance is an iPhone 13 Pro with 512GB of storage space. Any iPhone starting from the XS model is compatible with eSims and it can contain eight plus a physical simwhile any iPhone starting from generation 13 (Pro or simple) can use two eSims at the same time (or an eSim and a physical sim, of course). Let’s see what Iliad says and how she went on the field.

The rules of the game
Iliad has communicated the methods of use of its eSims. First of all there is an activation fee of 9.99 euros unless you already have a rate of 9.99 euros or higher (instead you pay if the rate is lower or if you activate a new rate and the eSim at the same time). The creation procedure can be done directly on the site or in the Iliad shops and corners.
eSims can be transferred with the same QR Code and secret code on multiple phones without paying anything, being careful to deactivate them first from the previous device. Deactivation does not correspond to the interruption of the tariff or its cancellation.
If the phone is lost, stolen or broken, i.e. if it is no longer possible to deactivate the eSim, to be able to put it on a new phone it will be necessary to contact Iliad (which will charge the issue cost of 9.99 euros). Iliad it does not specify what happens if someone wants to go back to having the physical sim.
The procedure
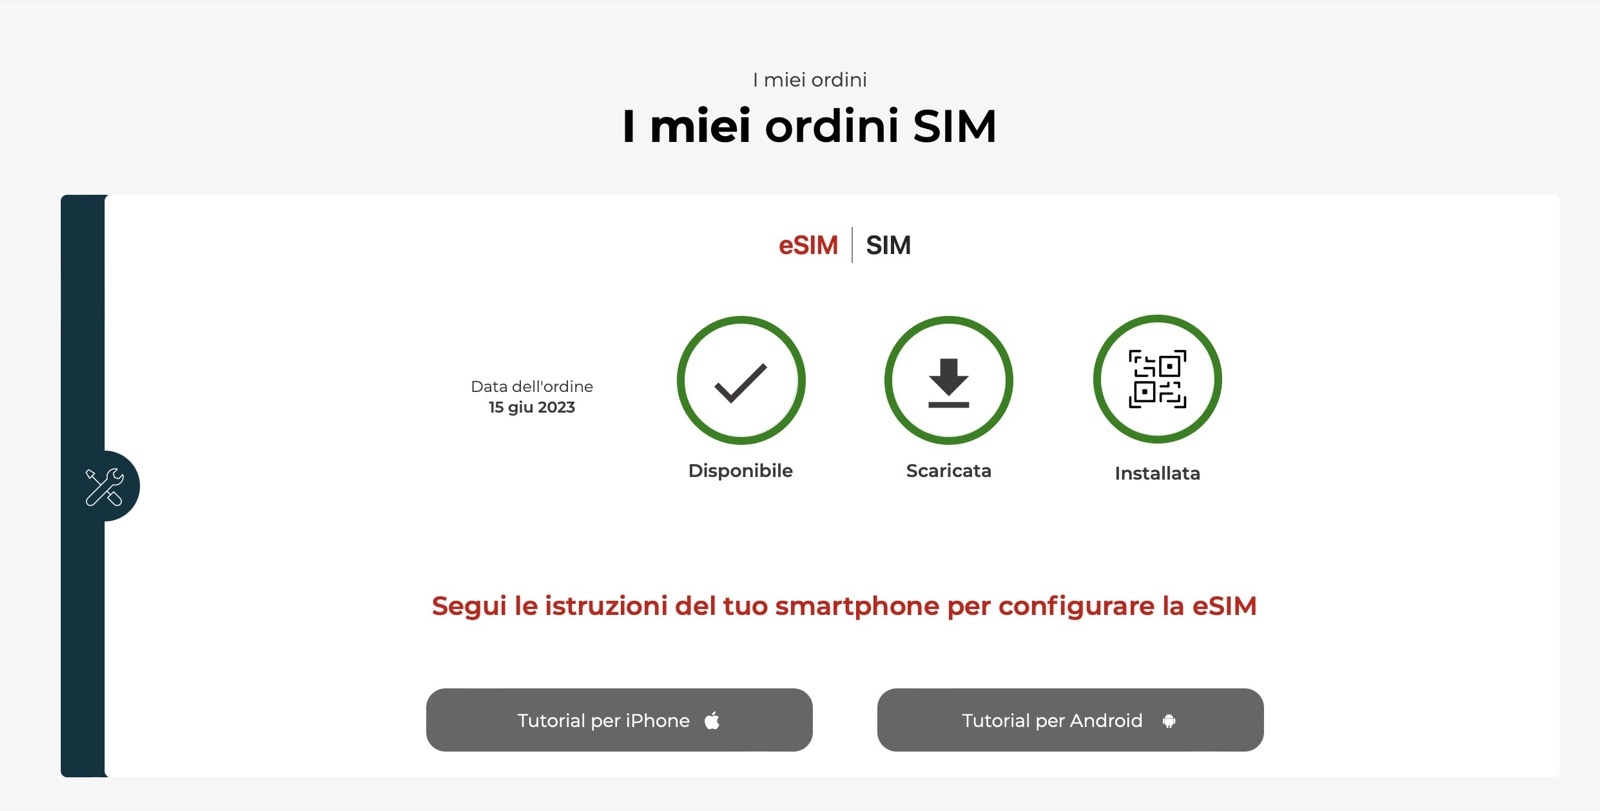
We immediately decided to activate the new eSim early after dinner on Thursday, the day of the announcement. We decided to do it from home, from a mobile phone. We knew that it was necessary to have a WiFi connection for eSim activation. The procedure involves going to the website page, requesting the eSim, upload the photo of the tax code (we put the photo of the back of the electronic identity cardwhich contains the tax code, a small photo and the name and date of birth, otherwise you have to resort to health insurance card) e a photo of the physical sim, which must be in our possession and functional. These are regulations that serve to protect against “sim spoofing”, from the possibility that an attacker intercepts our sim and has it reassigned. Which is now no longer possible with the eSim.
The problem is that we couldn’t find where to do this on the Iliad website. We then understood, after a search that lasted some time, that it is necessary to be logged in to your profile in the personal area (keep the password handy because it will be requested later) and you need to look for the menu “my orders“inside the voice”My SIM orders” the voice to take the eSim appears.
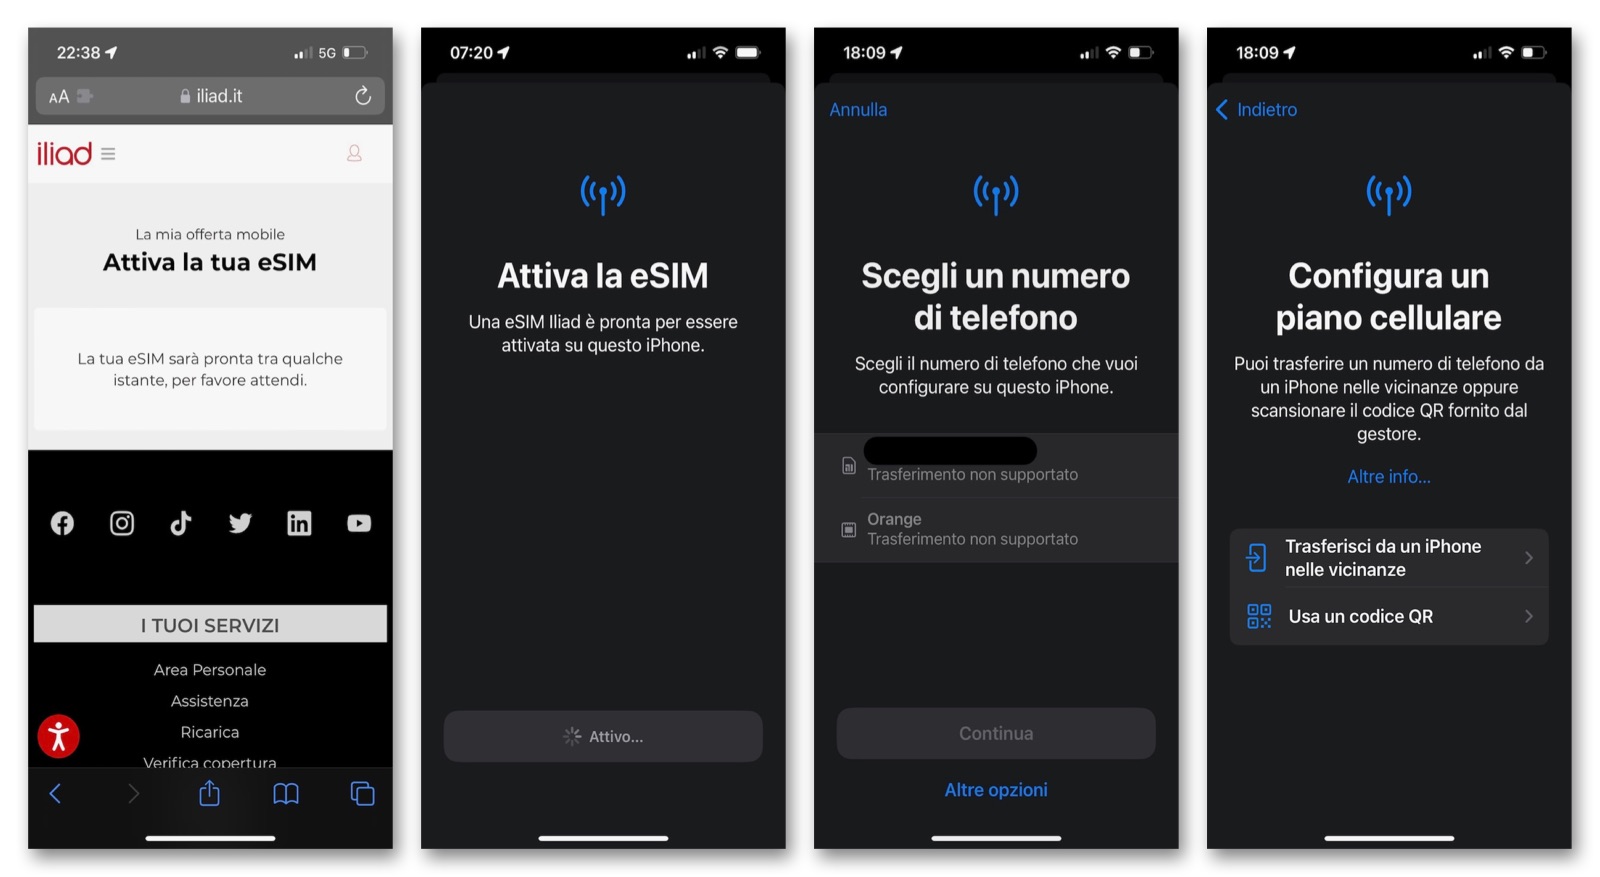
Uploaded the documents we waited a bit and then, since the message “Your eSIM will be ready in a few moments, please wait” remained activewe thought maybe the document verification system was taking too long and went to sleep.
The problems and the finalization
First thing in the morning we looked and the eSim was ready to activate. Arrived by email at the address registered by Iliad for our line and also available in the “My Orders” area. What Iliad provides is a QR Code, its alternative with a code and a password, and a secret code, within a simple PDF which we saved in a secure folder.
Again with the physical sim installed and running (but hooked up to the home WiFi line) we selected from Settings the voice Mobile phone and hence the voice Add eSim. In addition to choosing a phone number (transfers not supported) we have chosen More options to set up a cellular plan. Instead of transferring from a nearby iPhone we chose Use a QR code and framed the Iliad code, then adding the secret numerical code. Nothing, the procedure froze and asked us to try again later.
After another attempt made after breakfast (that is, a little later), we chose another route and, instead of scanning the QR Code, we proceeded with the path indicated by “Enter data manually”, an item that appears at the bottom of the page. Here “SM-DP + address, Activation Code and Confirmation Code (optionally provided by Iliad) and this time, after an interim processing screen, it finally signaled that the procedure was successful.
Last “emotion”, the eSim is pin locked which, however, as with all physical Iliad sims, it is always 1234. We promptly entered it and then deactivated it. Since that time the Iliad eSim worked flawlessly, as if it has always been an integral part of the phone itself. There is obviously no weight loss but there is a certain sense of lightness between the ears of the owner of the line.
Conclusions
Iliad’s eSim proved easy enough to install, even if the procedure had the hitch of reading the QR Code that was not successful and the final surprise of the eSim pin. Overall, it was a low to medium difficulty procedure, consisting of four steps. Iliad provides a step-by-step explanation on the site. Apple provides various other indications but the procedure of inserting a physical sim is undoubtedly even easier.
Apple predicted also other ways of number portability (we’ll see if in the future they can be used to move this eSim to a new iPhone) and in any case it offers accessory modes that perhaps make the whole procedure a little more complex than necessary. It is however a more bureaucratic process (with the photo and uploading images of your tax code and active physical sim) and the shape of the interfaces which is not a real technological problem.
Once this part has been resolved, the use of the eSim is absolutely trivial. The iPhone itself guides us through the configuration steps: assigning a name to the eSim (you can choose what you want, plus the phone number appears in small print under the label), the management of contacts, calls, messaging and data traffic.
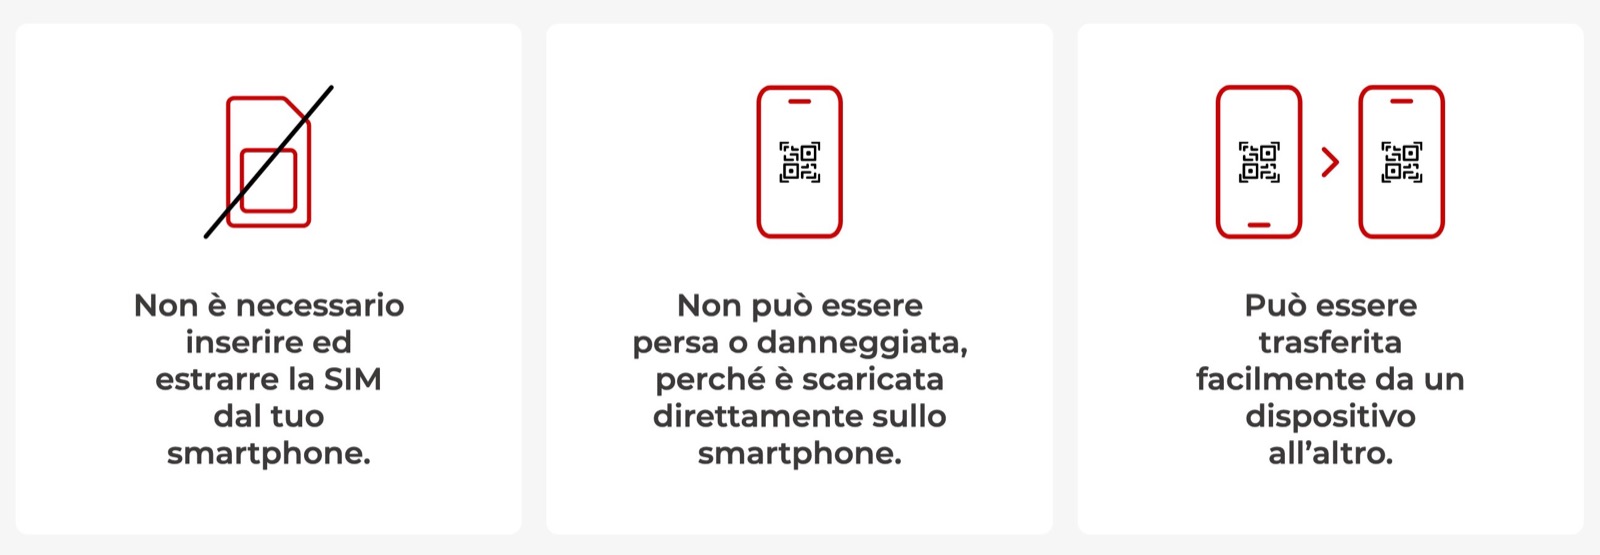
The convenience of having an eSim as the main line, as well as preparing for a possible future of the iPhone with no more slot for physical simsalso introduces some possible interesting uses of other physical as well as digital sims, for example such as second working line, data-only line, promotional lines or for travel abroad.
Instead, with this move we have cut ourselves off from the possibility of carrying our phone number on other devices that do not have an eSim: from old “legacy” phones to even modern Android smartphones without this predisposition. Finally, there is a risk component in case of breakage or theft of the telephone, which in any case is also present with traditional telephones.
